In Singapore, maintaining a clean and functional home involves ensuring every part of the house is in top condition—including the rubbish chute. Another important aspect that is overlooked has a significant influence on waste disposal, especially in tall buildings.
With time, wear and tear can lead to unpleasant odors, pests, and operational difficulties. If your rubbish chute has seen better days, it might be time for a replacement. This step-by-step guide will explain how to replace a rubbish chute, along with practical tips to make it manageable, even for first-time DIYers.
Why It’s Important to Replace a Rubbish Chute
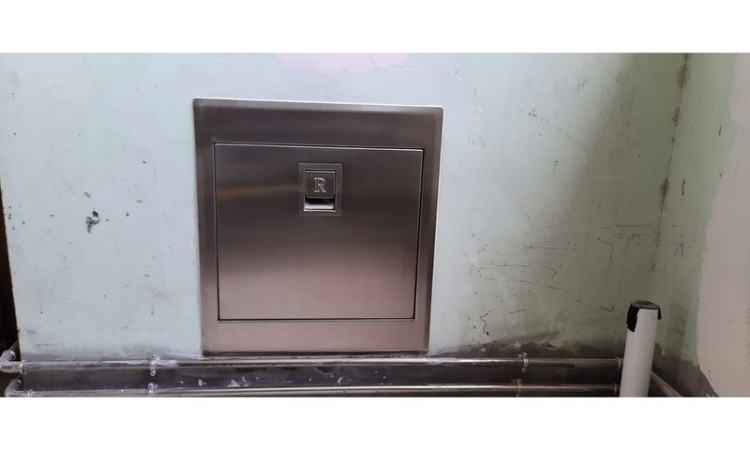
Rubbish chutes play a very important role in waste disposal, particularly in the HDB and private facilities in Singapore. Over time, they can become less effective due to:
- Foul odors: Accumulated grime and poor sealing allow smells to escape.
- Rust and corrosion: Moisture exposure can degrade the material.
- Operational issues: Hinges or mechanisms may jam, making them difficult to use.
- Pest problems: Holes or gaps in the chute may cause insect and rodent infestation.
Replacing a damaged rubbish chute enhances their cleanliness and function and gets rid of bad smells which create a better environment for people to live in. Also, Affordable Rubbish Chute Singapore specializes in rubbish chute repair and replacement services.
Tools and Materials Needed
Before starting the rubbish chute replacement process, gather the following tools and materials:
- Measuring tape: To ensure the new chute matches the dimensions of the existing one.
- Screwdriver set: For loosening and tightening screws and nuts.
- Power drill: To speed up the removal and installation process.
- Silicone sealant: To create a tight, airtight seal around the new chute.
- Replacement rubbish chute: Select a durable, high-quality chute that fits the existing opening.
- Gloves and safety glasses: PPE to protect from sharp edges and dust.
- Cleaning supplies: Cleaner, sponge, and scraper will be the tools used in opening preparation.
Step-by-Step Guide to Replace a Rubbish Chute
Step 1: Measure Your Existing Rubbish Chute
Accurate measurements are critical for ensuring the replacement fits seamlessly. Use a measuring tape to determine:
- Height and width: Take the dimensions of the chute’s opening on the wall.
- Depth: Understand how long the chute protrudes into the wall cavity.
Record down these measurements and compare them with the new chute that you want to buy. In Singapore, most of the hardware shops or online platforms offer various types of rubbish chutes suitable for standard sizes of HDB and private residential buildings.
Step 2: Prepare the Area
The first thing to do during the removal process is to ensure that there is no obstruction around the rubbish chute. Any object that could hinder access must be cleared from the area.
It is also important to lay a tarp or newspaper on the floor so that if some of the materials fall on the floor, the floor will not be ruined. Protect your hands by wearing gloves and your eyes by putting on safety glasses to minimize the risk of injury from sharp metal.
Step 3: Remove The Old Rubbish Chute
- Unscrew the fasteners: Next, use the screwdriver or power drill to take off the screws holding the rubbish chute to the wall. Put the screws in a safe area in case you need them in the future.
- Loosen the chute: Give the chute a little shake to snap off any old sealant or adhesive that may still be clinging to it. Avoid applying pressure on the surrounding wall or tiles because they might end up getting damaged.
- Extract the chute: Carefully pull the old rubbish chute out of the wall. If it’s stuck, use a scraper or utility knife to cut away any remaining sealant or caulk.
- Inspect the opening: Check whether there is any debris, old sealant, or any other visible damage in the opening. Wash with a sponge and washing solution so that the surface no longer contains dirt and is appropriately set for the installation of a new chute.
Step 4: Install the Replacement Rubbish Chute
- Apply sealant: Create an airtight seal around the hole by applying a silicone sealant. Apply a thick, even bead of sealant around the perimeter of the opening.
- Position the new chute: Insert the replacement rubbish chute into the opening, ensuring it is aligned correctly. Push it firmly into place, making sure the edges sit flush with the wall.
- Secure the chute: Use screws or bolts to fasten the chute to the wall. Tighten them evenly to prevent gaps or misalignment.
- Seal the edges: Use additional sealant to ensure it covers a little extra around the sides of the chute to help reduce smells and pests from getting out. Finish a neat coat by using your finger or a caulking tool on the top of the sealant.
Step 5: Test the Installation
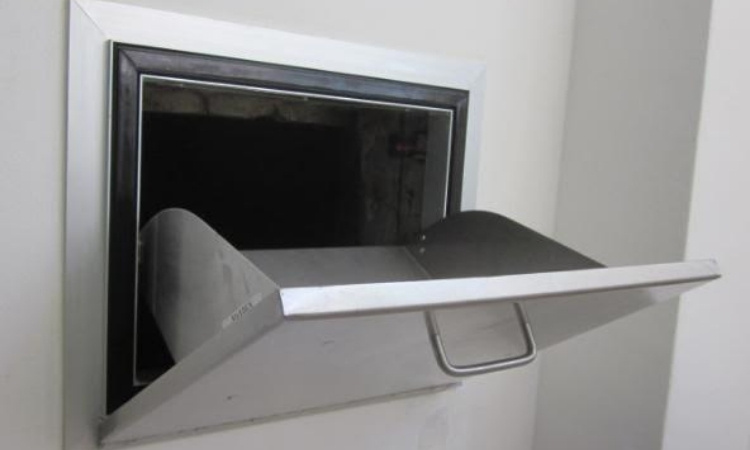
After making sure that the replacement rubbish chute is fixed in the proper place, check the functionality of the chute by opening and closing the door several times. Check for:
- Smooth operation: Check that the door is able to open and close freely without any sticking at the middle or when closing.
- Airtight seal: Make sure that there are no cracks and openings through which such smells or pests can get out.
- Sturdiness: Make sure the chute is properly anchored, and there are no loose ends, which when shaken, give room to move or wobble.
Clean any excess sealant and allow it to dry completely according to the manufacturer’s instructions.
Professional Rubbish Chute Replacement Services in Singapore
Even though it is possible to replace a rubbish chute on your own, there are benefits to hiring a professional service. Professionals:
- Make sure the installation is according to local building codes.
- Select high-quality materials and tools for guaranteeing a long-lasting solution.
- It will be less time-consuming for you, particularly for complex installations.
Several companies in Singapore specialize in rubbish chute replacement, offering warranties and maintenance packages for added peace of mind.
Conclusion
Replacing a rubbish chute in Singapore is one of the cardinal processes that are necessary to keep a home clean and hygienic. In case you decide to DIY- the detailed steps given above shall help you carry out the replacement process effectively or you may get a professional to do the job for you.
Ready to replace a rubbish chute in Singapore? Take the first step today and enjoy the benefits of a cleaner, more functional waste management system!